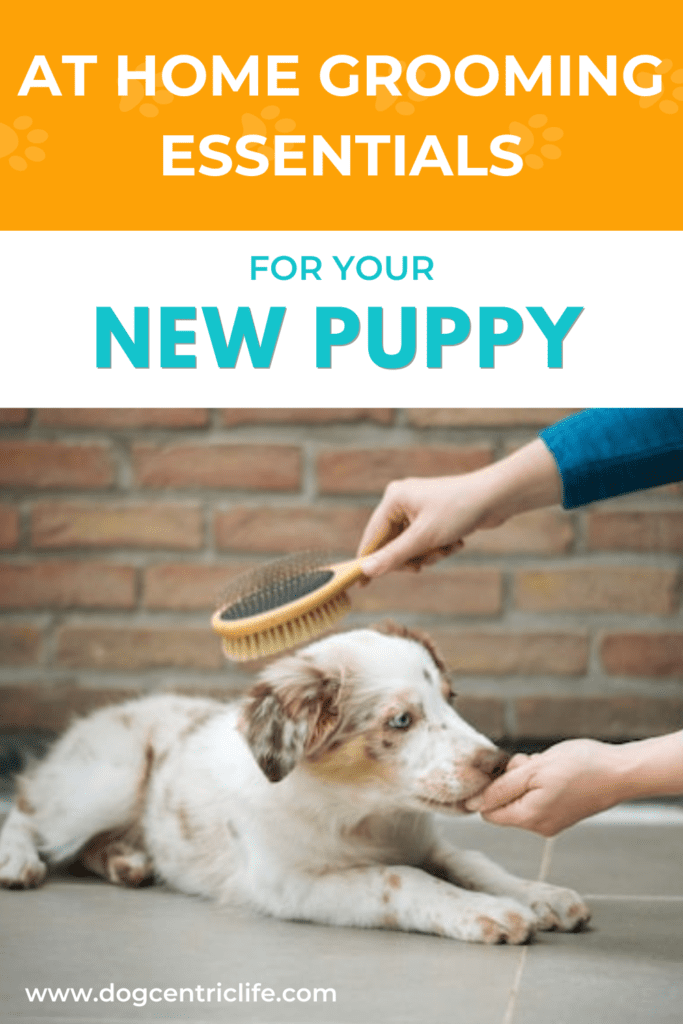
All dogs need some degree of grooming and care done at home…. and in addition to that, some breeds may also need to visit the groomer every 4 to 6 weeks. Now that you have your new puppy you should know where you fit on that scale. Regardless of whether or not you are frequenting the groomer you should be performing some at home grooming tasks yourself… primarily, brushing your dog.
Brushing your dog is not a difficult task but you should make sure that you have the right tools on hand to get the job done… right! There are a lot of brushes on the market… and not unlike our hair brushes, each type of brush has a specific use. So how do you know what to use with your puppy? That depends a lot of the breed of your puppy.
Allow me, as a retired pet groomer… now dog trainer… to help break it down so you can make the best choice and have the right tools on hand for your new puppy.
BRUSHES FOR YOUR PUPPY
When you start brushing your puppy it is important to allow them to get used to both the brush… and the process of brushing. This is something new for them and, like everything new for puppies, there is a method to exposing them to new things in their world.
RECOMMENDED ARTICLE: TIPS ON HOW TO SOCIALIZE YOUR PUPPY
When I say they should get used to the brush, that process should go something like:
Place the brush on the floor by the puppy and allow them to sniff and investigate the brush. While doing so, provide treats and praise to your puppy… you can actually toss treats around the brush on the floor if you wish. Once your puppy seems comfortable with the brush, pick up the brush and work on being able to briefly and lightly touch your puppy with the brush. With each touch treat and praise your puppy. The next step to work with is lightly brushing your puppy. Start with short, light strokes… then pause and provide treats and praise. Continuing in this manner allows your puppy to develop a positive association around being brushed.
Keep it fun… this can be a really great bonding time to spend with your puppy. Our Golden Retriever, Ollie, used to bring the brush to us as he loved to be brushed!
Slicker Brush
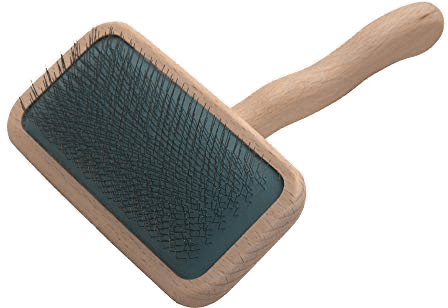
A slicker brush is traditionally used on more medium to long-coated dogs with thick coats (i.e. Golden Retriever, Saint Bernard, Bernese Mountain Dog, German Shepherd, Husky, Yorkshire Terrier, Schnauzer, etc). They get rid of loose hair (you know… the hair that is everywhere in your house!), dirt or debris, and helps to remove small mats and tangles in their coat. In saying that, I will add that a slicker brush alone will not remove large mats from your dog’s coat… other processes and tools are needed for that.
These brushes are usually rectangular in shape with fine wire bristles which are placed fairly close together. The wire bristles are angled with the intent of not irritating the dog’s skin. The best way to use a slicker brush is with short, slow strokes… and brushing in the direction that the dog’s coat grows.
Shedding Blade
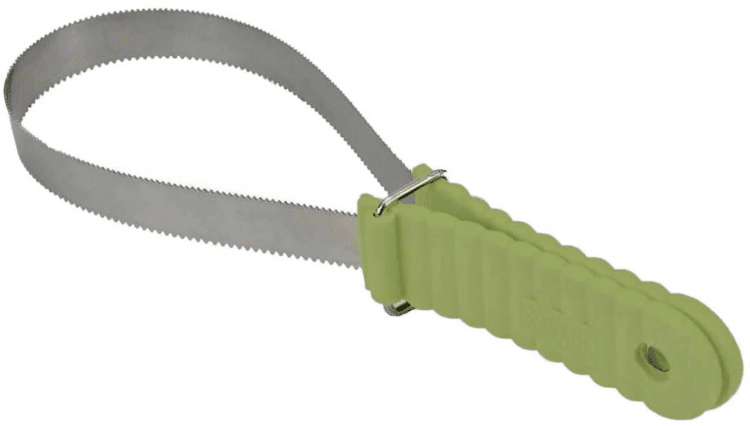
I learned about shedding blades in grooming school. Traditionally these were used for horses but have grown in popularity in the dog grooming world. They work really well for short haired, long haired and double-coated breeds… i.e. those that shed. I used this faithfully on our Goldens and the hair that it would remove always amazed me! Care must be taken not to apply too much pressure so that you don’t scratch your dog (depending on the thickness of their coat) and I never used it on areas like the groin where the skin is more sensitive… primarily the back, side and chest. I am not sure I would recommend this in a puppy stage… I would probably wait until a puppy was maybe 6 months or older.
SleekEZ
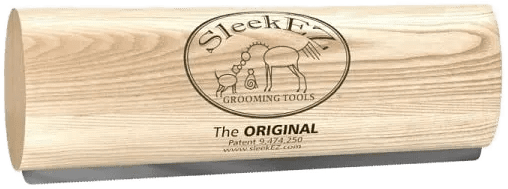
An alternative that will work on the same concept as the shedding blade… with a very different design. The SleekEZ also works on short haired, long haired and double-coated dogs by removing the undercoat that your dog sheds.
Pin Brush
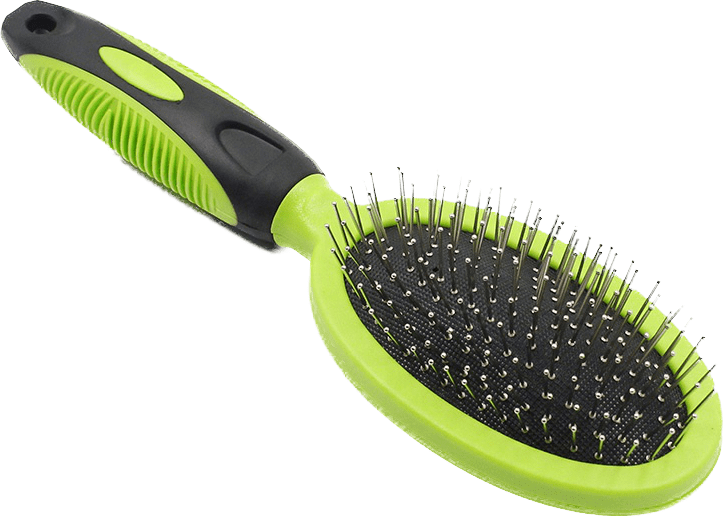
Pin brushes have wire pins with a protective ball at the end to prevent scratching the skin. They are usually recommended for dogs with medium to long, silky coats as they have a wider gap between the bristles allowing the bristles to flow through the coat without damage. Often referred to as a finishing brush. You can sometimes find a combination brush that has a pin brush on one side and a bristle brush (see below) on the other.
BRISTLE BRUSH

A bristle brush is most effectively used on short haired, smooth-coated dogs that shed (i.e. Pugs, Greyhounds, Jack Russell Terriers, French Bulldogs, etc). The bristle brush is made from a natural clusters of bristles that are helpful in removing loose hairs but they also stimulate the dog’s skin.
Rake
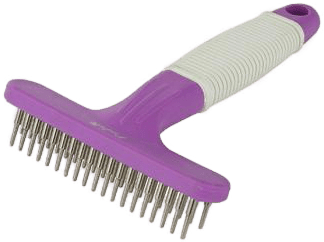
One of my favorite tools for those double-coated breeds (i.e. Husky, Shepherd, Golden Retrievers, etc)… a rake is great for removing thick, heavy undercoats without damaging their outer coat.
Curry Brush
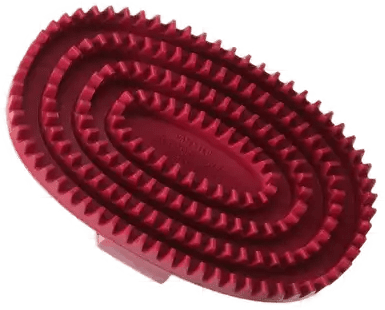
There are many different versions of a curry comb… but whatever the style, the benefits are the same… they are good for massaging your dog’s skin while removing any dead skin and dirt. These are particularly effective for dogs that have very short coats.
And… speaking of brushes… it’s also a good idea to get a dog toothbrush and dog toothpaste and start the habit of brushing your puppy’s teeth when they are young so it becomes something that they are comfortable with having done. Ideally you should be brushing your puppy’s teeth each day to prevent plaque build up which makes your puppy at risk of bad breath, gum disease and tooth decay as an adult dog.
In addition to brushing your puppy there may be other tasks that you wish to add to your at home grooming list…
Nail CARE FOR YOUR PUPPY
When trimming your puppy’s nails yourself, you need to avoid cutting their nails too short as you will cut the quick, which is the center portion of their nail which contains both blood vessels and nerves. If you cut the quick, the nail will bleed and it will cause your puppy some pain… you may very likely hear them yelp. Knowing what to look for when trimming nails is the best way to avoid cutting the quick … that, and trimming just a little bit of the nail at a time.
Much like with brushes, introducing your puppy to nail clippers can go a long way to making this a positive experience as opposed to one that causes stress and anxiety. Each time you cut your puppy’s nails be sure to positively reinforce your puppy with some yummy treats so that they learn good things happen when they get their nails trimmed!
There are a few different tools that you can use for trimming your puppy’s nails… or, if this is something that you just don’t want to do be sure to take them for regular nail trims to avoid the nail getting too long as this can cause both short and long term health consequences.
Clippers
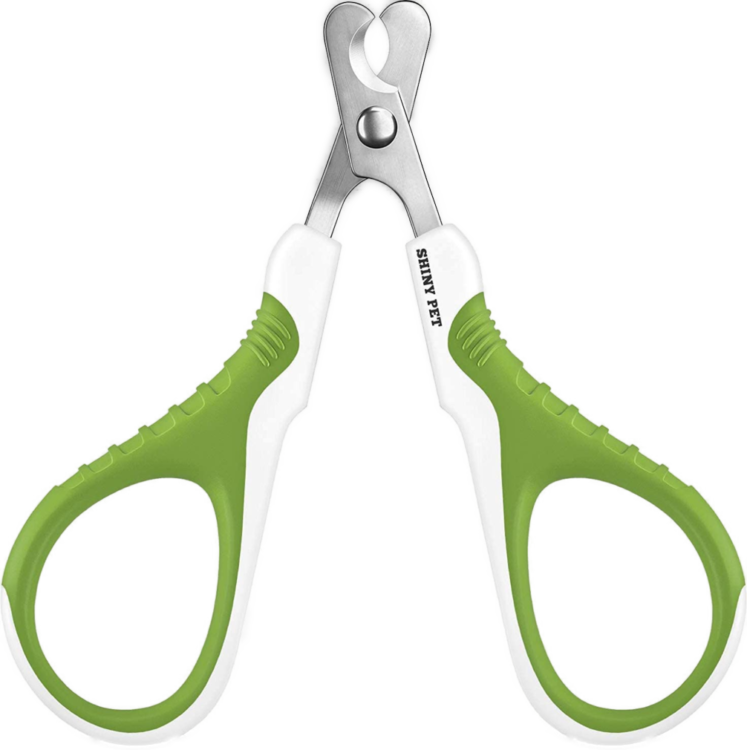
Scissors style clippers look and work like small scissors. You place the nail in the divots that are toward the end of each blade and cut. Some may find these easier to hold and use, but they are generally better for small dogs and puppies with nails that are thinner.
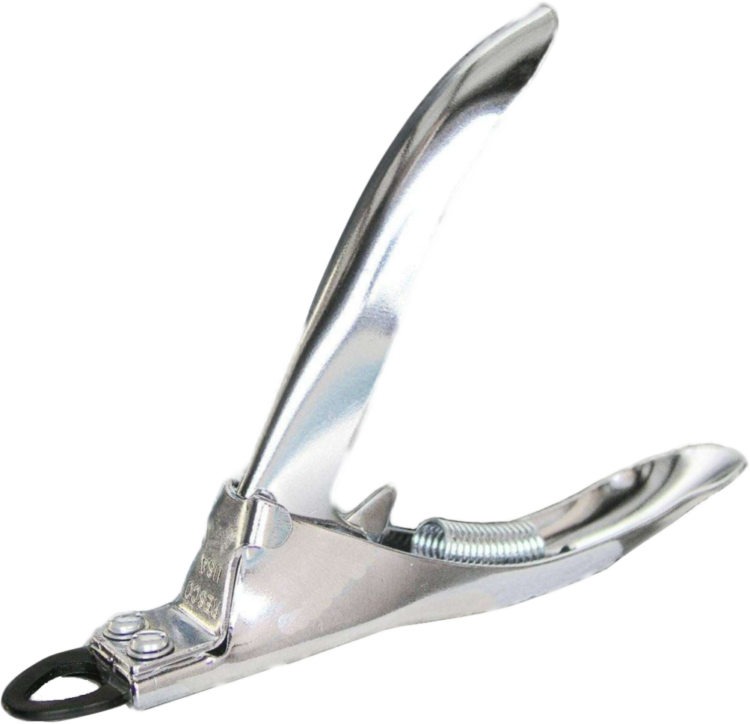
Guillotine style clippers have a stationary blade (located in the hole you put the nail through) and another blade which moves (the “guillotine”) and slices the nail when you squeeze the handles of the clippers. These are better for smaller dogs with nails that are thinner as they aren’t powerful enough to cut through the thicker nails of larger dogs.
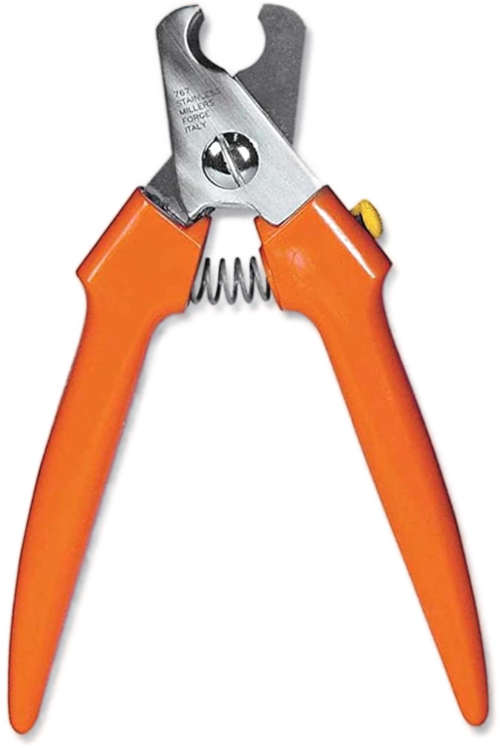
Plier style clippers come in a few different looks, but they all have a spring which makes them stronger and better for large, thick nails. Some designs also have a guard on their clippers that help ensure that you don’t accidentally cut the nail too short.
Grinders

Nail grinders – which you may think of when you hear the name Dremel – are very different than clippers. Instead of cutting the nail they file the nail down with a grinding head which has sandpaper on it. This leads to a smoother and more even result… and also makes it easier to avoid hitting the dog’s quick.
If this is an option that you wish to use with your puppy go slow! Ensure that you let them get used to the sound (while giving them treats to create a positive association with the sound) even before using on the nail. Then I would suggest doing only one nail a day while introducing them to a grinder. There is no need to rush and risk potentially overwhelming them.
Styptic powder
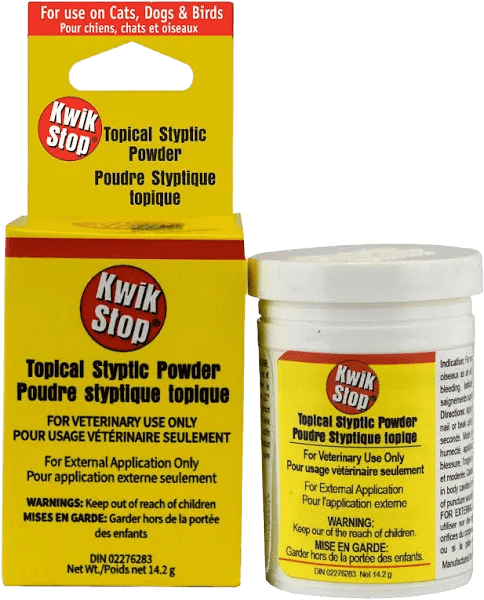
If you happen to cut the quick, styptic powder is the best thing to help the blood clot and stop the nail from bleeding. If you cut the quick and don’t have styptic powder on hand alternatives that you can use are cornstarch, baking powder and even flour. See here for instructions on how to apply styptic powder.
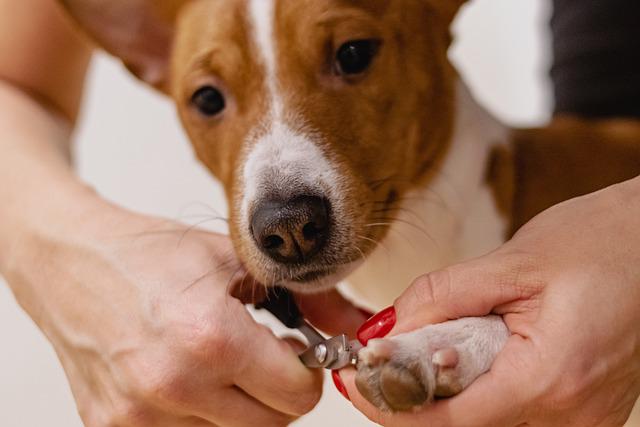
RECOMMENDED ARTICLE: HOW TO SAFELY TRIM YOUR DOG’S NAILS
BATHING YOUR PUPPY
SHAMPOOO & CONDITIONER
Don’t just reach for any shampoo when you are ready to bathe your puppy. You shouldn’t use the same shampoo or soap that you use for yourself as those can cause skin irritation… especially for a puppy that has delicate skin. A puppy shampoo is formulated to be gentle on your puppy’s skin and using a tearless formula helps to protect your puppy’s eyes… just in case!
Conditioners are not something that you need to use, but a good quality product can make your puppy’s coat softer and shinier… and can help soften and soothe the skin as well. For puppies with longer coats that are more prevalent to mats and tangles, conditioners can help reduce the frequency of those occurring. There are conditioners that you use like the shampoo, but also products that you can spray on after the bath… and even on a dry coat before you brush your puppy’s coat as a part of regular maintenance.
DRYER
If you are wondering if it is safe to use a people hair dryer on your puppy… yes, it is but there are some safety measures to pay attention to. Always keep the nozzle a few inches from your puppy’s fur and NEVER hold the hair dryer in one spot… always keep it moving! Keeping the dryer focused on one area can actually put your puppy at risk of a burn. Think about how hot the hair dryer can get if you were to hold in on one spot when you dry your own hair! Also, if using a human hair dryer, make sure that you use the lowest heat setting possible… this will also help to lower the risk of burns.
Like everything else with a puppy it is important to introduce them to the dryer slowly. Let them investigate the dryer while it is turned off… give them treats and praise while you do so. After you do this for a while turn the dryer on at a distance to let them hear the sound. While providing treats and praise move the dryer closer to them so they learn the dryer is nothing to fear. This teaches your puppy to associate positive experiences to the dryer being on.
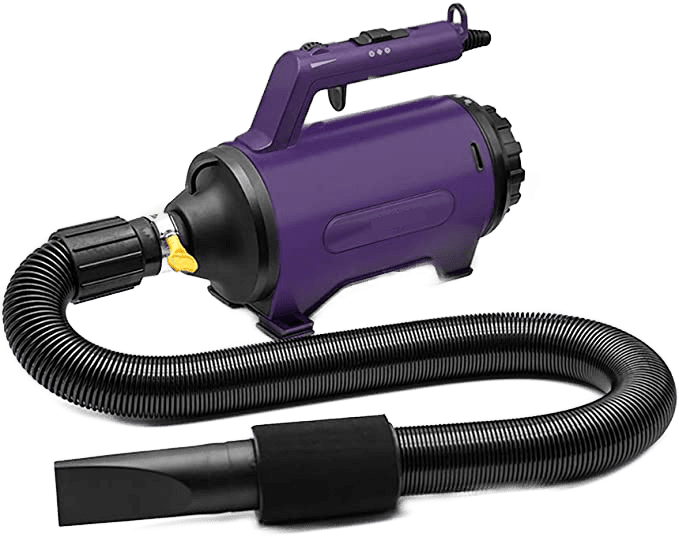
If you plan on bathing your puppy a lot over the years you could invest in a professional dryer that groomers use. These are not heat based dryers… only air… but at a high velocity. They work great! They are also helpful in getting rid of loose hair (though I would recommend you use this in an area that is easily cleanable if you are using it on a heavy coated dog like a Husky… as they REALLY get rid of loose hair… all over the walls, etc) which is great as it means less shedding around the house! You can get these types of high velocity dryers usually for about $100 or less.
RECOMMENDED ARTICLE: HOW TO MAKE GROOMING YOUR PUPPY A POSITIVE EXPERIENCE
Grooming wipes
Grooming wipes can be incredibly handy to have on hand as they can be used to clean up your puppy if they get into something you’d rather not have tracked through the house… or simply removing dirt from their paws or tummy before they come in the house. You might be surprised just how often you use these!
Enjoy the time with your puppy… it goes by so quickly! But while you’re here, be sure to download our FREE Puppy Socialization Checklist and include socialization outings with your puppy a few times each week. Socialization plays a big role in ensuring your puppy grows into a well-adjusted, happy companion for you and your family.

image credits: Amazon



0 Comments