We all love life hacks that make life easier, but why not extend that love to life hacks for dogs too? Here are some simple… but practical… tips for those of you that live with dogs to help make living the “dog life” a little easier.
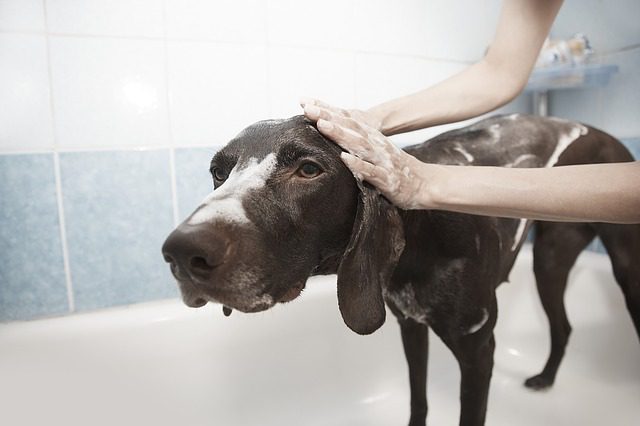
Use A Shower Cap To Keep Water Out Of Dog’s Ears
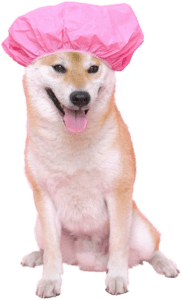
I have to admit that I laughed when I found this life hack. As a pet groomer how could I have not thought of this? This is genius! Keep the shampoo and water out of your dog’s ears by using a shower cap! Some breeds are more sensitive to getting excess water in their ears and ear canals which can lead to health issues such as ear infections. As well, when a dog gets water in their ears they have a tendency to shake their head… sometimes frequently… which can increase the risk of painful ear hematomas (fluid-filled bulges and swelling on the inside of the ear flap) developing. Our golden retriever, Ollie, was sooo prone to these! Now I haven’t tried this hack but I would have to guess that it would probably work fairly well, with a little care. But if your dog has existing issues with their ears you may want to run this by your vet before assuming that it would be suitable for your dog.
Homemade Pill Pockets
Oh, I wish I had known about these 3 years ago! Later in life Ollie developed severe arthritis, which led to some other issues, and he was on more medication than I like to think about. With him, the more time that went on, the more he hated taking his medications… but he sure loved treats! It’s funny, I tried store bought pill pockets and they worked well but they were an expense that, with the costs of all his meds, wasn’t sustainable. I tried stuffing pills in cheese, peanut butter, banana… just about anything that I could stick a pill in and he would always eat the “food” portion and then spit out the pill! What a guy! So, to be able to make my own pill pockets would have been ideal.
So, if you have a dog that is on medications why not do a DIY and try making your own pill pockets?
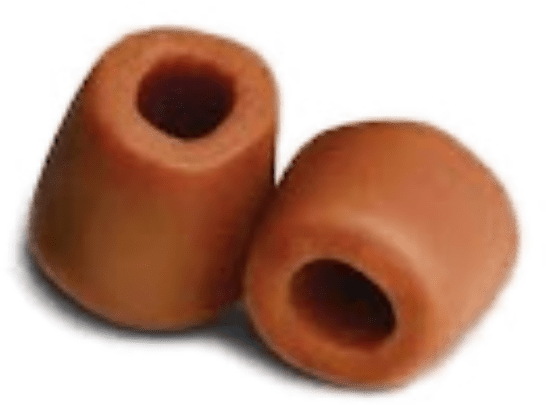
1 Tbsp Milk
1 Tbsp Peanut Butter
1 Tbsp Flour
Mix ingredients together in a small bowl. Roll the dough out into a long tube, and cut it into 12 pieces. Use a chopstick or skewer to make a hole in one end of each piece.
Store in a ziplock bag or container in the fridge for up to one week.
Important notes: Make sure that the peanut butter that you use does NOT contain Xylitol. Xylitol is becoming more common as a sweetener in everyday products (candy, gum, toothpaste, peanut butter) and it is extremely toxic to dogs… even in small amounts. As well, it is fairly well known that raw flour is not healthy for human consumption… so I would take the same precautions for my dog. I would “heat-treat” the flour… cooking it before using it in the recipe to ensure that any harmful bacteria are destroyed. You could also research other alternatives for flour. And finally, if your dog doesn’t tolerate milk products/dairy… I would just substitute water.
Make Your Own Slow-Feeder Bowl
Do you have a dog that gobbles… or rather inhales… their food? Do you think of a Hoover vacuum when you watch your dog eat? You may not think this is an issue, but it can be. A dog that gulps their food is more at risk to experience choking or vomiting during or after eating… and gastric dilatation-volvulus (GDV)… also known as bloat. I had a white german shepherd that sadly died from bloat. It is a very serious and potentially fatal condition if it’s left untreated.
Now, you can purchase dog bowls that are designed to slow down your dog’s eating, or you can try some DIY things and see what works best for your dog without spending a lot of money.
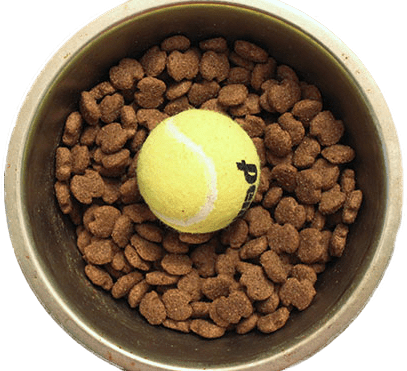
An easy option for a DIY slow-feeder is to place a ball (tennis ball, or any other ball that won’t be a choking hazard for your dog) in the middle of your dog’s food bowl. Your dog will have to eat around the ball, maneuvering it to get at the food. Or… you may have a dog that catches on and pulls the ball out of the bowl and then eats as normal! Another option you could try is to spread their food out on a cookie sheet… or splitting their food up and putting it in the cups of a muffin tin. Lastly, if you really want to slow them down, take their food allotment and do some training with your dog… tricks or cues you may be working on… get creative and have fun!
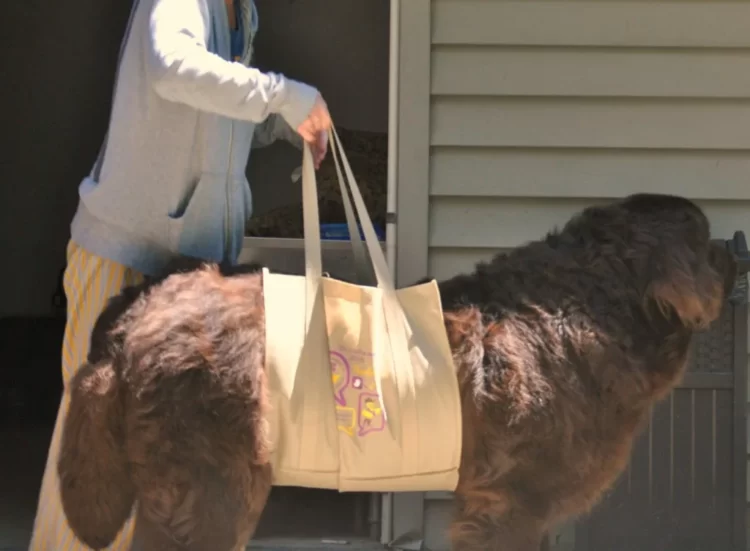
DIY Lift Harness For Large Dogs
Do you have an older dog that needs a little help getting up and maneuvering obstacles like stairs or getting into the car? Or, do you have a dog that may be recovering from an injury and needs a little extra help… temporarily?
You can buy a sling or harness that can help them get up… or you can save some money and make one yourself. Over at My Brown Newfies they share an easy and inexpensive idea for a DIY lift harness. I tried towels and blankets, but for a 120lb dog, both of these options were difficult to use, hard to hold on to, and I didn’t like the way they would bunch up putting all the pressure in one area on our dog’s belly. I finally spent money on a harness to help lift him… but the idea of using a fabric shopping bag and turning it into a temporary DIY lift harness is a great idea! Thinking back it would have come in very handy while we waited for his harness to arrive. This is a cheap solution and quick to make in a pinch – because these things are rarely planned for!
De-Skunk Your Dog With this DIY Solution
If you have ever had your dog sprayed by a skunk and followed the advice of bathing your dog in tomato juice… you would have likely found that it wasn’t very helpful and instead made a huge mess! There are some good products out there but if you have a big dog they can get expensive as you have a lot of fur to cover! There is a great DIY mixture that, as a groomer, I always recommended to clients if they were in the unfortunate position of needing to de-skunk their dog.
Here are the ingredients:
- 1 quart 3% hydrogen peroxide
- ¼ cup of baking soda
- 1 teaspoon of liquid dishwashing soap
Mix this in a large container and then apply the mixture immediately to your pet. Do NOT get this solution in your dog’s eyes (or yours)… or let them lick the solution (nor should you! LOL). As well, dispose of any leftovers of this mixture as it can explode if it is left in a bottle. If you are unsure about how to apply this to your dog safely, click here for a great article on how to do that.
Dog – or cat – hair Removal Hacks
Do you live with the “dog hair, don’t care” attitude? Or is dog hair something that has become your nemesis since getting your fur-ever friend? Never fear… there are some easy hacks for cleaning up, and reducing, dog hair!
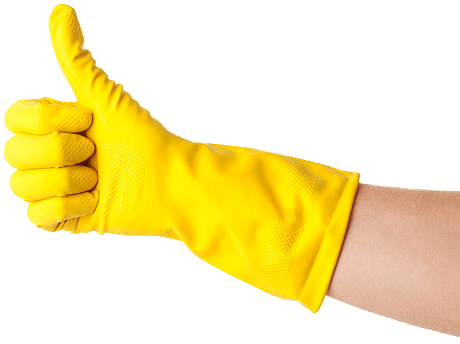
I think one of the coolest hacks is using a rubber gloves to remove pet hair on upholstered furniture. Yup… a simple rubber glove! The same rubber gloves you use for washing dishes… or cleaning… works for removing pet hair too! It’s all you need! Simply put on a rubber glove and rub your hand over the upholstery… it’s that simple. Watch the glove amazingly lift the pet hair off your sofa or chair! Or… you can dampen your rubber glove and run it over the sofa as well. This way will also lift the pet hair but because the glove is damp you will have to rinse the glove off as the hair will stick to it. So, either way… you choose what works for you! No more lint brushes needed!
Another option is to use dryer sheets to pick up pet hair. Most people have these in their laundry room for doing laundry… but you can also use them to remove pet hair from furniture… and even clothing. Rub a dryer sheet on the surface and the pet hair will come right up!
And one more option is to use tape to pick up loose dog (or cat) hair. This theory works much like those sticky lint rollers… I’ve used packing tape, duct tape and even masking tape. What I would so is wrap a long piece of tape around my hand and run it over the sofa or other surface…. not surprisingly, the dog hair sticks to it. My only issue with this process is that the tape loses its stickiness quickly as it fills up with dog hair (at least with big dogs) and then you have to use more tape. You may as well buy lint rollers! The rubber glove option is my favorite by far… buy one set of gloves and you are good to go!
Here’s another tip… brushing your dog each day… or every couple of days… is one of the best methods to reduce shedding. Think of it as a bonding experience as many dogs, if it is done regularly and with the right tools, actually enjoy being brushed.

Do you have any life hacks for dogs (or pets) that you would like to share? Do you use any of these hacks while living the dog lifestyle? Do share….


0 Comments